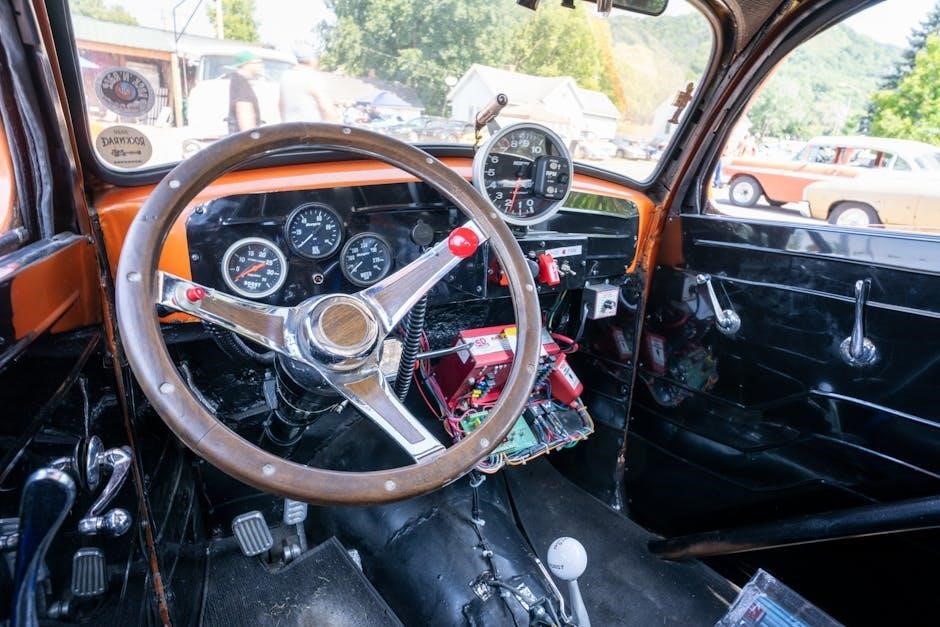
pros and cons of a manual transmission
Manual transmissions, offering direct driver control, are facing extinction as automatics dominate. Despite this, they retain a dedicated following, prized for engagement and simplicity.
Though increasingly rare – with only a few automakers offering them in 2025 – manuals present unique advantages alongside notable drawbacks for prospective drivers.
The core appeal lies in a more connected driving experience, but this comes with a steeper learning curve and potential inconveniences in modern traffic conditions.
Historical Context of Manual Transmissions
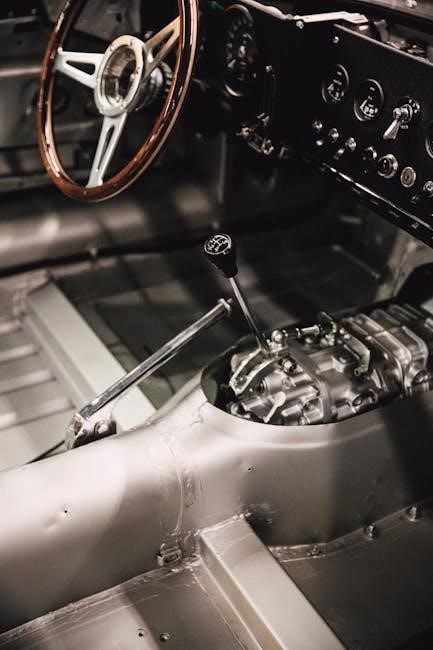
Early automotive history was almost entirely defined by manual transmissions. Before the widespread adoption of automatics, drivers inherently understood and operated vehicles with a clutch and gear stick – it was simply the only option available.
The earliest automobiles, emerging in the late 19th and early 20th centuries, relied on complex manual systems. These weren’t the smooth-shifting gearboxes we recognize today; they demanded significant driver skill and physical effort. As technology progressed, manual transmissions became more refined, offering improved ease of use and reliability.
However, the mid-20th century witnessed the rise of automatic transmissions, initially marketed for their convenience. Despite the initial higher cost and complexity, automatics gained popularity, particularly in North America. The appeal of effortless driving gradually eroded the dominance of manuals.
Even as automatics became prevalent, manuals retained a foothold, particularly among driving enthusiasts who valued the greater control and engaging experience they provided. This historical context explains the current niche appeal of manual transmissions.
Current Market Trends (2026)
As of February 2nd, 2026, the manual transmission market is demonstrably shrinking. Automakers are increasingly phasing out manual options, catering to the overwhelming consumer preference for automatic and, increasingly, electric vehicles. Subaru remains a notable exception, continuing to offer manual configurations for enthusiast drivers.
The dwindling availability is impacting resale values; manuals are experiencing a decline, reflecting limited demand. However, a dedicated enthusiast market persists, driving up prices for specific, desirable manual models. This niche appeal sustains a small but passionate segment of the automotive industry.
The rise of electric vehicles (EVs) further complicates the future of manuals. EVs inherently utilize single-speed transmissions, rendering the concept of multiple gears obsolete. This technological shift accelerates the decline of traditional manual transmissions in the broader automotive landscape.
Despite the overall trend, some argue for the preservation of manuals, citing their engaging driving experience and simpler mechanical design as valuable attributes.

Pros of Manual Transmissions
Manual transmissions boast lower initial costs, reduced maintenance, enhanced fuel efficiency, and superior driver control. They deliver a more engaging experience and demonstrate simpler, lasting durability.
These advantages appeal to enthusiasts seeking a connected driving feel and greater command over vehicle performance.
Lower Initial Vehicle Cost
Historically, vehicles equipped with manual transmissions have carried a lower price tag than their automatic counterparts. This price difference stems from the simpler manufacturing process and fewer components required for a manual gearbox. While the gap has narrowed in recent years, particularly with advanced automatic technologies, a manual transmission often remains the more budget-friendly option at the point of purchase.
This initial cost saving can be particularly attractive to first-time car buyers, those on a tight budget, or individuals prioritizing value over convenience. However, it’s crucial to consider the broader financial picture. While the upfront cost is lower, potential resale value depreciation might offset some of these savings, given the declining demand for manual vehicles.
Furthermore, the long-term cost of ownership isn’t solely determined by the initial price. Factors like maintenance, fuel efficiency, and potential repair costs also play significant roles in the overall financial equation.
Reduced Maintenance Expenses
Manual transmissions generally require less frequent and less expensive maintenance compared to automatic transmissions. Their simpler mechanical design translates to fewer potential points of failure and a reduced need for specialized fluids or complex repairs. Key wear items, like the clutch, are relatively inexpensive to replace, though this is a periodic expense unique to manual vehicles.
Automatic transmissions, with their intricate valve bodies and torque converters, often necessitate more involved servicing and can incur significantly higher repair bills when issues arise. However, it’s important to note that neglecting maintenance on a manual transmission – such as failing to change the gear oil – can lead to costly damage.
Proper driving habits also influence maintenance costs; smooth shifting and avoiding clutch abuse will extend the lifespan of the components. Ultimately, the simplicity of a manual gearbox often results in lower long-term ownership expenses.
Enhanced Fuel Efficiency
Historically, manual transmissions offered a fuel efficiency advantage over automatics, allowing drivers to maintain optimal engine revolutions for economy. This stemmed from the driver’s direct control over gear selection, minimizing wasted energy. While modern automatic transmissions have significantly narrowed this gap, a skillfully driven manual can still yield slightly better mileage in certain situations.
Automatic transmissions, particularly older designs, often held the engine at less efficient RPMs. However, contemporary automatics with numerous gears and sophisticated control systems mitigate this issue. The difference in fuel economy is now often marginal and heavily dependent on driving style.
A driver’s ability to select the appropriate gear for the driving conditions remains a key factor. Aggressive shifting or frequent use of lower gears will negate any potential fuel savings.
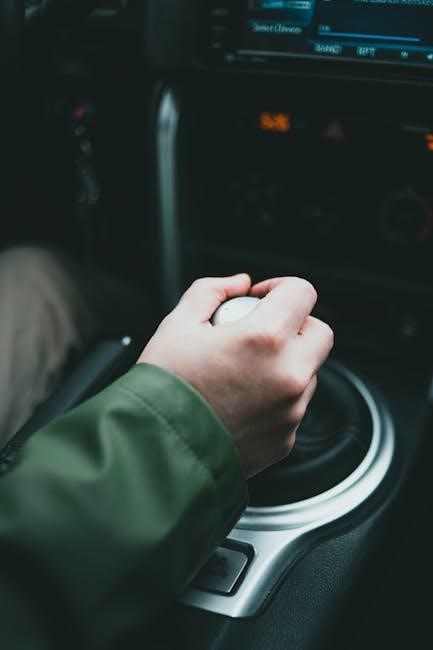
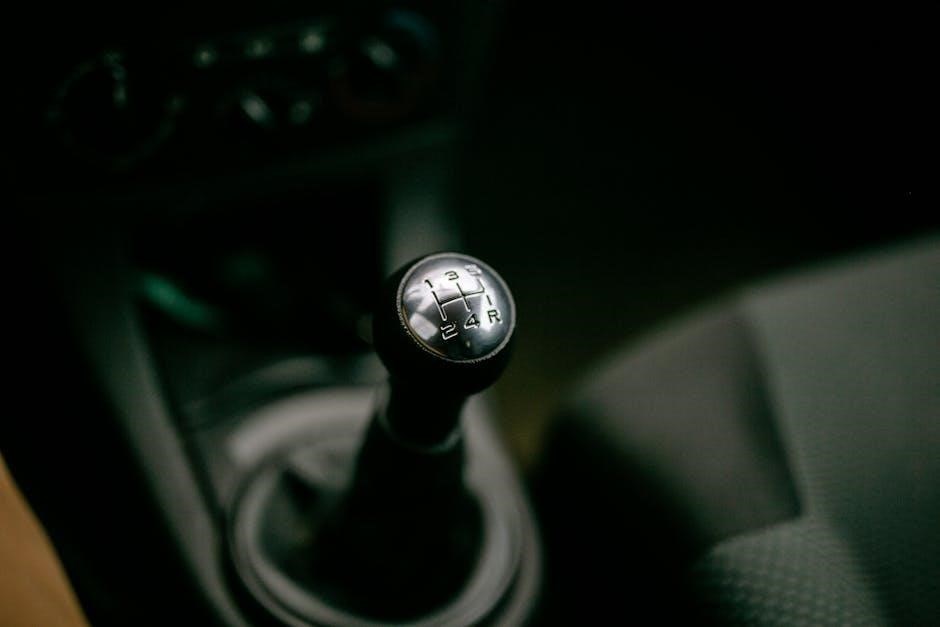
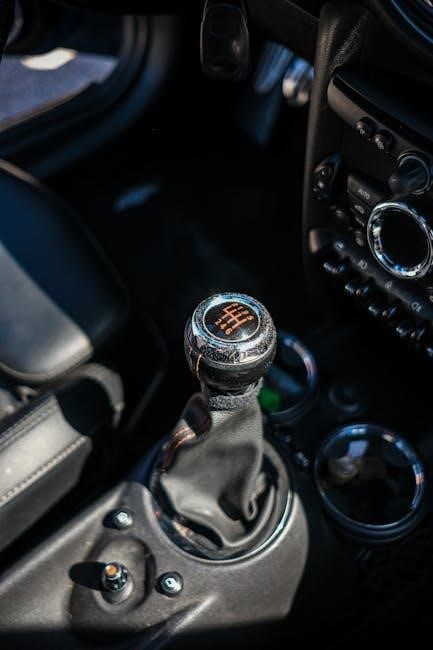
Greater Driver Control
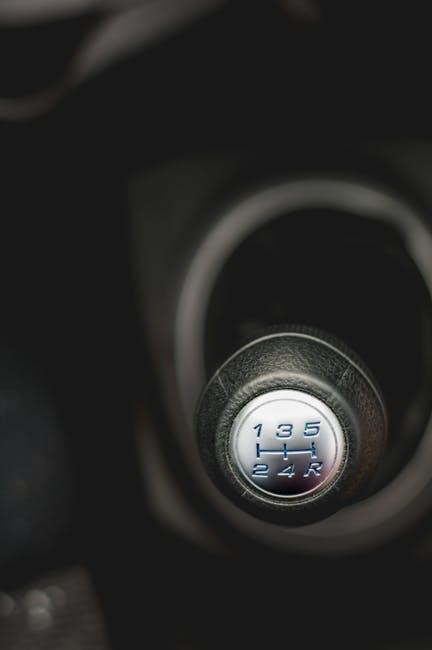
The hallmark of a manual transmission is the unparalleled level of control it grants the driver. Unlike automatics, where the vehicle decides gear changes, a manual puts the driver firmly in command, dictating when and how the power is delivered; This direct connection fosters a more engaging and responsive driving experience, particularly appreciated by automotive enthusiasts.
This control extends beyond simple acceleration; drivers can utilize engine braking for smoother deceleration and maintain precise speed on descents. Techniques like heel-and-toe downshifting, while demanding to master, offer exceptional control during cornering.
However, this heightened control demands greater driver attention and skill. Incorrect gear selection can lead to sluggish performance or even stalling, requiring constant vigilance and coordination.
More Engaging Driving Experience
For many drivers, the appeal of a manual transmission transcends mere practicality; it’s about the experience. The act of shifting gears transforms driving from a passive activity into an active, involved process. This heightened engagement fosters a stronger connection between driver and machine, making even mundane commutes more enjoyable.
The tactile feedback of the shifter, the precise coordination of clutch and throttle, and the satisfying feeling of a perfectly executed gear change all contribute to this immersive experience. It’s a sensation often described as “raw” and “pure,” appealing to those who appreciate the mechanical aspects of driving.
However, this engagement comes at a cost. The constant need to operate the clutch and shifter can be mentally and physically demanding, especially in congested traffic, potentially diminishing the enjoyment for some drivers.
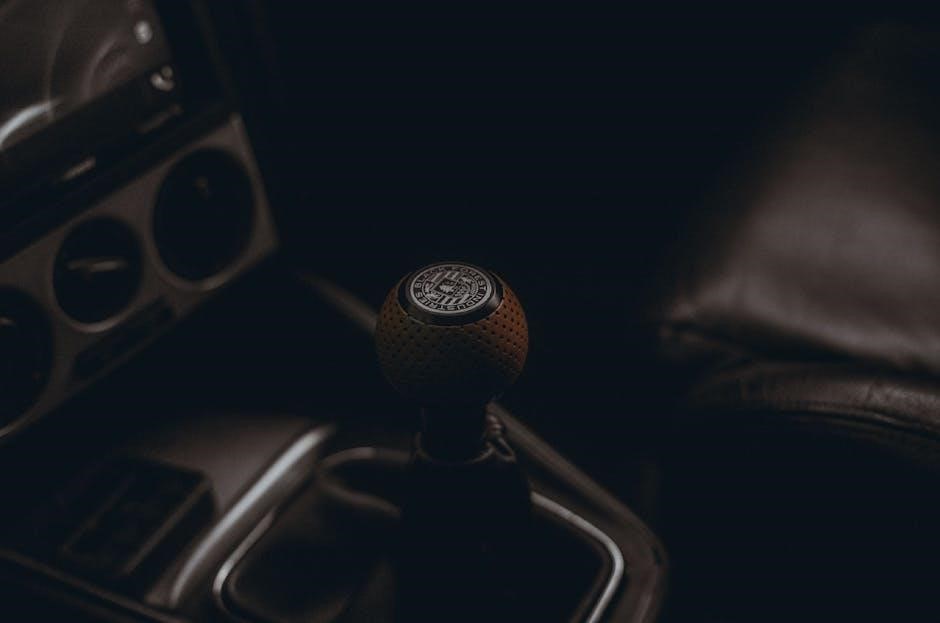
Simpler Mechanical Design & Durability
Compared to the intricate complexity of automatic transmissions, manual transmissions boast a remarkably straightforward design. This simplicity translates directly into enhanced durability and reliability. Fewer components mean fewer potential points of failure, reducing the likelihood of costly repairs down the line.
Historically, and still largely true today, manual transmissions are known to withstand significant wear and tear, often outlasting their automatic counterparts when properly maintained. The main wear item, the clutch, is relatively inexpensive and straightforward to replace, contributing to lower long-term ownership costs.
However, this durability is contingent on driver skill. Improper operation – such as “riding the clutch” – can accelerate wear and tear. While simpler, a neglected manual transmission will still require maintenance, and incorrect driving habits can negate its inherent robustness.
Cons of Manual Transmissions
Despite their appeal, manual transmissions present challenges. A steeper learning curve, potential for driver fatigue, and inconvenience in stop-and-go traffic are significant drawbacks for many drivers.
Stalling risks and decreasing resale value further contribute to the declining popularity of these traditionally favored gearboxes.
Steeper Learning Curve
Mastering a manual transmission demands significant practice and coordination, presenting a considerable hurdle for new drivers accustomed to the simplicity of automatic systems. Unlike automatics, which handle gear changes autonomously, manuals require the driver to precisely manage the clutch and gear lever simultaneously.
This coordination – often involving heel-toe techniques for smoother downshifts – isn’t intuitive and necessitates dedicated learning time. Initial attempts frequently result in stalling, jerky movements, and a generally less refined driving experience.
The complexity extends beyond simply shifting gears; drivers must also learn to anticipate gear changes based on speed and engine RPM, adding another layer of cognitive load. While this skill ultimately enhances driver engagement, it initially represents a substantial barrier to entry, particularly in regions where manual transmissions are becoming increasingly uncommon.
Consequently, many drivers opt for the ease of automatics, contributing to the decline in manual transmission proficiency.
Potential for Driver Fatigue
Operating a manual transmission, particularly in demanding conditions, can lead to increased driver fatigue. The constant engagement required – repeatedly depressing the clutch and shifting gears – necessitates continuous physical and mental effort. This is especially pronounced in congested, stop-and-go traffic, where frequent gear changes and clutch work become unavoidable.
Unlike automatic transmissions, which largely automate the process, manuals demand sustained driver input, potentially causing strain in the left leg and repetitive motion discomfort. Long commutes or extended drives can exacerbate this fatigue, diminishing driver alertness and potentially impacting safety.
While enthusiasts often relish the engaging nature of a manual, the physical exertion can become tiresome for everyday driving. This contrasts sharply with the relaxed experience offered by automatics, where drivers can focus more on steering and observation.
Therefore, for drivers prioritizing comfort and minimizing physical strain, an automatic transmission may be a more suitable choice.
Less Convenient in Stop-and-Go Traffic
Manual transmissions present a significant inconvenience in stop-and-go traffic conditions. The constant shifting between gears and repeated clutch engagement become incredibly tedious and physically demanding during frequent acceleration and deceleration. This contrasts sharply with the ease of use offered by automatic transmissions, which require minimal driver input in such scenarios.
Navigating congested city streets or rush hour traffic with a manual can be exhausting, demanding constant attention and coordination. The need to quickly shift gears and prevent stalling adds to the stress and reduces driving enjoyment.
Automatic transmissions excel in these situations, allowing drivers to focus on steering and maintaining a safe following distance without the burden of manual gear changes. This convenience is a major advantage for urban commuters.
Consequently, for drivers who frequently encounter stop-and-go traffic, an automatic transmission offers a far more relaxed and practical driving experience.
Decreasing Vehicle Resale Value
Vehicles equipped with manual transmissions are experiencing a decline in resale value, reflecting the shifting preferences of the automotive market. As automatic transmissions become increasingly dominant, the demand for manual vehicles diminishes, impacting their long-term worth.
This trend is particularly noticeable in mainstream segments where automatics are now the standard. Potential buyers often prioritize the convenience of automatics, leading to lower offers for manual-equipped models.
While enthusiast communities still value manuals, this niche demand isn’t sufficient to offset the broader market trend. Consequently, owners may receive a smaller return on investment when selling a manual vehicle compared to its automatic counterpart.
This depreciation is a crucial consideration for prospective buyers, especially those viewing their vehicle as a financial asset. The decreasing resale value adds to the list of drawbacks associated with manual transmissions.
Risk of Stalling
A significant disadvantage of manual transmissions is the inherent risk of stalling, particularly for inexperienced drivers. Stalling occurs when the engine speed drops too low, causing it to shut off, often during low-speed maneuvers or when starting from a stop.
This can be embarrassing and potentially dangerous, especially in traffic. Mastering the coordination of the clutch, accelerator, and gear selection is crucial to avoid stalling, requiring practice and skill.
Even experienced drivers can occasionally stall in challenging situations, such as steep inclines or during quick stops. The need to quickly restart the engine and regain control adds a layer of complexity to driving a manual.
While modern vehicles often feature stall prevention systems, these are not foolproof. The potential for stalling remains a notable drawback, especially compared to the seamless operation of automatic transmissions.
Manual vs. Automatic Transmissions: A Comparison
Manuals offer driver control and engagement, but automatics prioritize convenience and ease of use. Manuals boast lower costs and fuel efficiency, while automatics excel in simplicity.
The choice hinges on individual preferences and driving needs, balancing involvement with practicality.
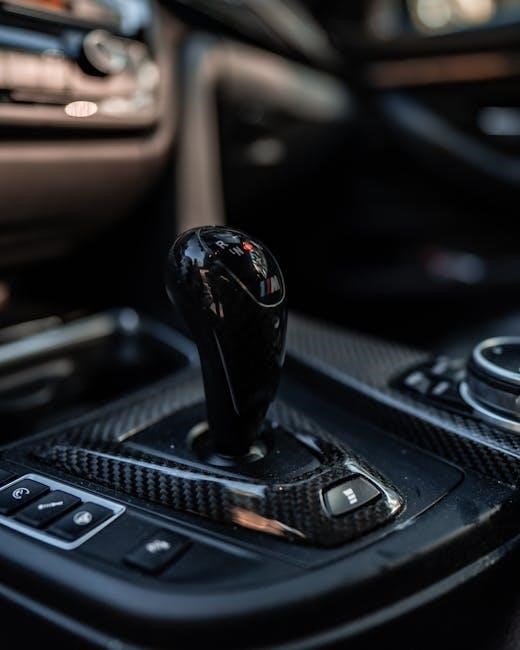
Automatic Transmission Advantages
Automatic transmissions offer a significant advantage in convenience, particularly in congested, stop-and-go traffic. Drivers experience reduced physical exertion, eliminating the need for constant clutch and gear lever manipulation. This ease of use makes them ideal for daily commuting and less experienced drivers.
Furthermore, modern automatic transmissions often deliver comparable, and sometimes even superior, fuel efficiency to manual counterparts, thanks to advanced gear ratios and computer-controlled shifting. While traditionally more expensive to repair, advancements in automatic transmission technology have increased their overall reliability.
The smoother gear changes provided by automatics contribute to a more comfortable ride, and the absence of a clutch pedal simplifies operation for drivers with physical limitations. Resale value tends to be higher for vehicles equipped with automatic transmissions, reflecting broader market demand.
Automatic Transmission Disadvantages
Automatic transmissions, despite their convenience, often come with a higher initial purchase price compared to their manual counterparts. This cost difference can be substantial, impacting budget-conscious buyers. Moreover, they generally incur higher maintenance expenses due to their complex mechanical design and the need for specialized fluids.
Historically, automatics were criticized for reduced fuel efficiency, though this gap has narrowed with modern technology. However, they can still sometimes hold gears longer than a driver might choose, impacting optimal fuel consumption. The lack of direct driver control can also diminish the sense of engagement and connection to the vehicle.
Finally, while reliability has improved, automatic transmissions remain more prone to costly repairs than simpler manual systems. The increased complexity translates to more potential points of failure, potentially leading to significant repair bills over the vehicle’s lifespan.
The Future of Manual Transmissions
Manual transmissions now cater to a niche enthusiast market, facing challenges from electric vehicles and increasingly sophisticated automatic technologies. Their long-term survival remains uncertain.
Despite dwindling numbers, a dedicated fanbase ensures their continued, albeit limited, production, preserving a unique driving experience for those who value it.
Niche Appeal and Enthusiast Market
Manual transmissions are increasingly becoming a hallmark of the enthusiast market, appealing to drivers who prioritize engagement and control over convenience. This dedicated group actively seeks out vehicles offering a three-pedal setup, valuing the more immersive driving experience.
The appeal extends beyond mere nostalgia; enthusiasts appreciate the ability to precisely manage gear selection, enhancing performance and fostering a stronger connection with the vehicle. Nailing techniques like heel-and-toe braking further elevates this experience, transforming even mundane commutes into enjoyable events.
However, this niche appeal doesn’t negate the practical drawbacks. The steeper learning curve and potential for driver fatigue remain significant barriers for many. Furthermore, the dwindling availability of manual options and concerns about resale value contribute to a challenging landscape for those committed to keeping the tradition alive.
Despite these hurdles, the enthusiast market provides a vital lifeline, ensuring that the manual transmission doesn’t entirely disappear, preserving a unique aspect of automotive culture.
Impact of Electric Vehicles
The rise of electric vehicles (EVs) presents a significant challenge to the future of manual transmissions. EVs, by their nature, don’t require multi-gear setups, as electric motors deliver instant torque across a wide RPM range. This fundamentally alters the driving experience and diminishes the need for driver-controlled gear changes.
While some enthusiasts have explored adapting manual transmissions to EVs for the sake of engagement, these remain largely experimental projects. The inherent simplicity and efficiency of single-speed EV drivetrains make traditional manual systems seem increasingly obsolete.
Consequently, the continued existence of manuals is now almost exclusively confined to internal combustion engine (ICE) vehicles, further narrowing their market share. The shift towards EVs accelerates the decline, potentially relegating manual transmissions to a purely historical artifact.
However, the enthusiast community’s desire for a connected driving experience may spur innovative solutions, perhaps through simulated manual modes in EVs, though these won’t replicate the true mechanical feel.
Technological Advancements in Automatic Transmissions
Rapid advancements in automatic transmission technology are steadily eroding the advantages once held by manual gearboxes. Modern automatics, particularly those with eight, nine, or even ten speeds, offer incredibly efficient gear ratios and seamless shifting, minimizing fuel economy gaps with manuals.
Furthermore, features like paddle shifters provide a degree of driver control previously exclusive to manual transmissions, allowing for manual gear selection without the clutch pedal. Dual-clutch transmissions (DCTs) offer even faster and more precise shifts, often surpassing the capabilities of even skilled manual drivers.
These innovations address many of the traditional criticisms of automatics – sluggishness and lack of engagement – making them increasingly appealing to a wider range of drivers. The sophistication of modern automatic control systems also optimizes performance and efficiency.
Consequently, the performance and convenience benefits of advanced automatics continue to diminish the appeal of the manual transmission, especially for everyday driving scenarios.

Is a Manual Transmission Right for You?
The decision to choose a manual transmission in 2026 is deeply personal, leaning heavily towards enthusiast preference rather than practical necessity. While offering a more engaging driving experience and potentially lower initial costs, manuals demand a commitment to learning and adapting to a less convenient driving style.
If you prioritize control, enjoy the tactile feedback of shifting gears, and relish a more connected feel with your vehicle, a manual might be a rewarding choice. However, be prepared for a steeper learning curve and potential fatigue in congested traffic.
For most drivers, the convenience, efficiency, and increasingly sophisticated performance of automatic transmissions represent a more sensible option. Ultimately, the “right” transmission depends on your individual needs, driving habits, and passion for the driving experience itself.