ontario assistive devices program application form
Ontario Assistive Devices Program (ADP) Application Form: A Comprehensive Guide
The ADP financially assists Ontario residents with long-term disabilities, enabling access to essential customized equipment for independent living, like wheelchairs and hearing aids.

What is the Ontario Assistive Devices Program?
The Ontario Assistive Devices Program (ADP) is a provincial government initiative designed to financially assist Ontario residents who have long-term physical disabilities. Its core purpose is to help individuals afford the cost of essential assistive devices required for daily living and greater independence.
These devices aren’t simply conveniences; they are crucial tools enabling participation in work, education, and community life. The ADP covers a wide range of equipment, including wheelchairs, hearing aids, and vision aids, as well as specialized devices for breast prostheses and ostomy care.
Established to improve accessibility and quality of life, the program aims to alleviate the financial burden associated with these often-expensive necessities, ensuring that disability doesn’t become a barrier to full participation in society. It’s a vital resource for many Ontarians.
Eligibility Criteria for the ADP
To qualify for the Ontario Assistive Devices Program (ADP), applicants must meet specific criteria. Primarily, individuals must be a permanent resident of Ontario and possess a valid Ontario Health Card. A long-term physical disability, expected to last one year or more, is a fundamental requirement.
The disability must necessitate the use of an assistive device to improve functional ability and independence. Furthermore, applicants generally cannot be covered by any other government program or private insurance for the same device.
Specific eligibility rules vary depending on the type of device being applied for. Certain devices, like breast prostheses, have unique criteria. Applicants must demonstrate a genuine need and provide supporting medical documentation.
Types of Assistive Devices Covered
The Ontario Assistive Devices Program (ADP) provides financial assistance for a wide range of assistive devices. Mobility equipment, including wheelchairs and walkers, is a significant category. Hearing aids and assistive listening devices are also covered, improving communication access.
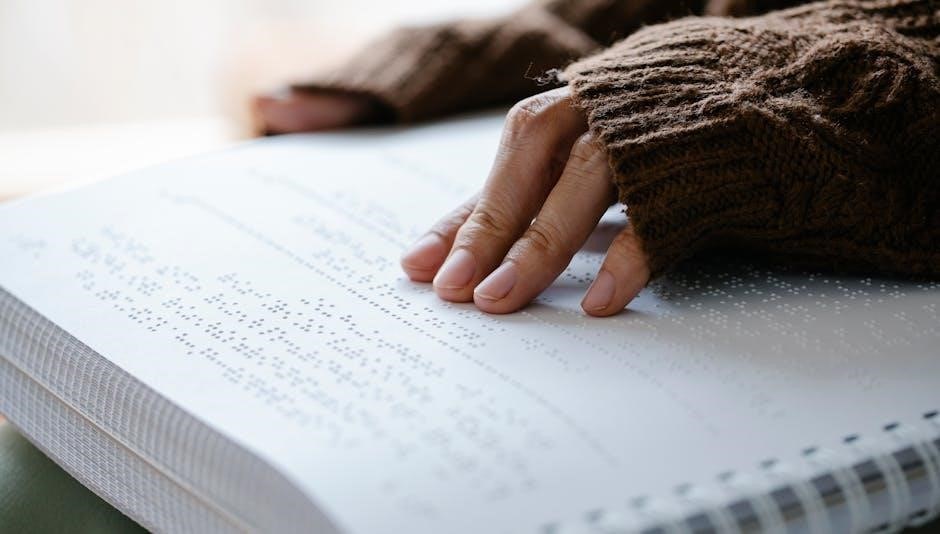
Individuals with vision impairment can receive funding for vision aids and low vision devices, enhancing daily living. The program extends to breast prostheses and related items for breast cancer survivors.
Furthermore, ostomy supplies and appliances are included, supporting individuals who have undergone ostomy surgery. The ADP aims to enable independent living by covering devices essential for functionality, though specific coverage levels vary.
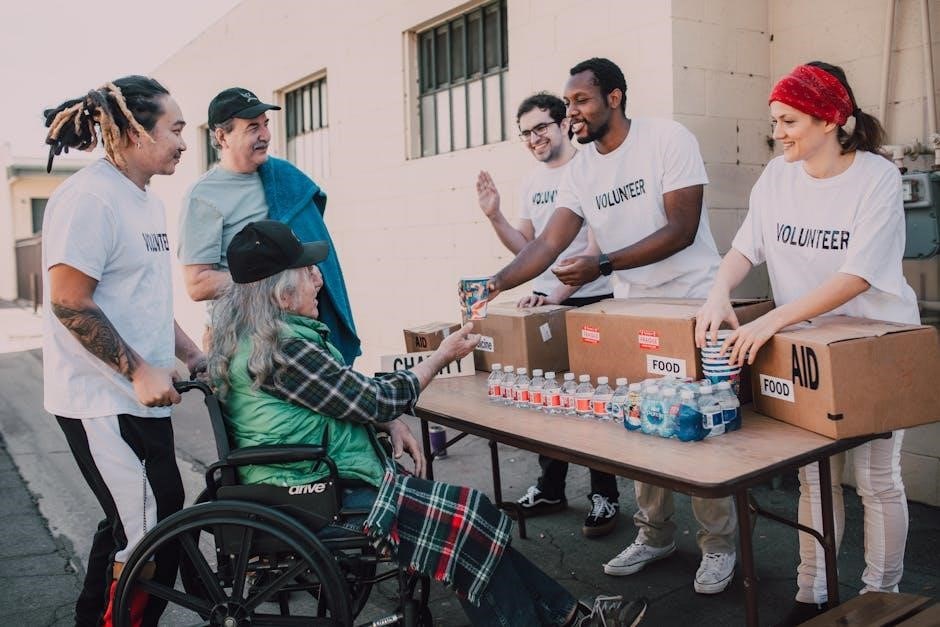
Mobility Equipment & Wheelchairs
The ADP offers substantial support for mobility equipment, recognizing its crucial role in independence. This includes a variety of wheelchairs – manual, power, and specialized models tailored to individual needs. Walkers, scooters, and other mobility aids are also eligible for funding, enhancing accessibility.
Coverage isn’t automatic; assessments by healthcare professionals are required to determine the most appropriate device. The program considers the applicant’s functional abilities and the necessity of the equipment for daily living.
Funding levels are capped, and applicants may be responsible for a portion of the cost. The ADP aims to alleviate the financial burden, enabling access to essential mobility solutions.
Hearing Aids & Assistive Listening Devices
The ADP provides significant financial assistance for hearing aids, acknowledging the profound impact hearing loss has on quality of life; Coverage extends to various hearing aid styles and technologies, catering to diverse hearing needs and preferences. Beyond hearing aids, the program supports assistive listening devices (ALDs), enhancing communication in challenging environments.
Applicants require a comprehensive audiological assessment from a registered audiologist to demonstrate the medical necessity of the devices. The assessment informs the selection of appropriate technology and justifies the funding request.
Funding is capped based on the hearing aid’s technology level, and applicants may contribute towards the remaining cost.
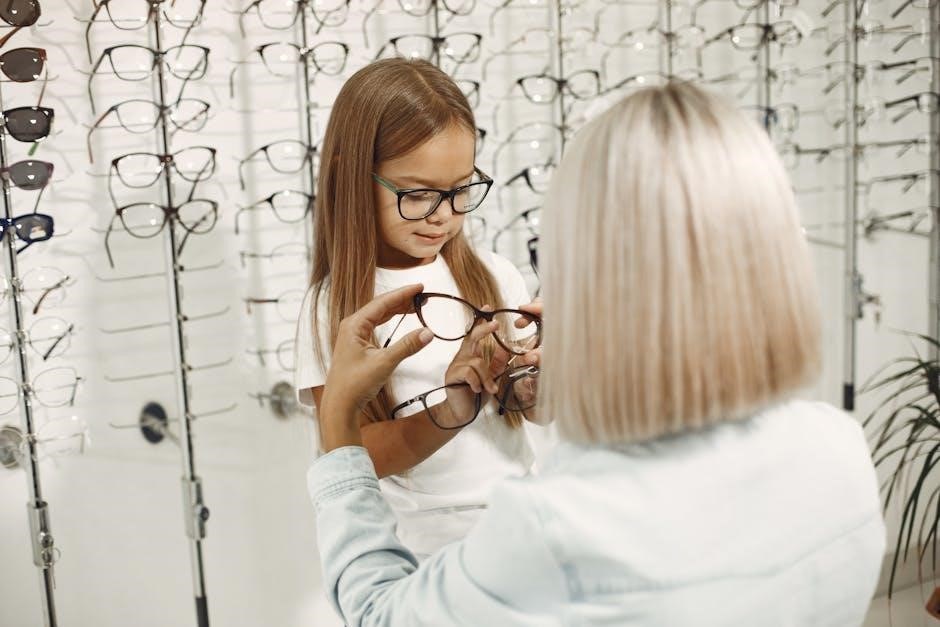
Vision Aids & Low Vision Devices
The ADP recognizes the critical role of vision aids in maintaining independence for individuals with vision impairment. The program offers financial support for a range of low vision devices designed to enhance remaining vision and improve daily functioning. These include magnifiers, telescopes, and specialized lighting systems.
Eligibility requires a thorough assessment by a qualified vision care professional, such as an optometrist or ophthalmologist, specializing in low vision. This assessment determines the most appropriate devices to address the individual’s specific visual challenges.
The ADP aims to empower individuals to participate fully in everyday activities, fostering greater autonomy and quality of life through accessible technology.
Breast Prostheses & Related Items
The Ontario ADP provides financial assistance to women who have undergone mastectomies or lumpectomies, covering a portion of the cost of breast prostheses and related items. This support aims to restore body image and enhance quality of life following breast cancer surgery.
Covered items include both custom-made and ready-made breast prostheses, as well as specialized bras designed to hold the prosthesis securely and comfortably. The program recognizes the importance of individualized fitting and offers reimbursement for professional fitting services.
Advocates are actively calling for changes to the program, seeking improved coverage and accessibility for breast cancer survivors requiring these essential devices.
Ostomy Supplies & Appliances
The Ontario ADP offers financial support to individuals who require ostomy supplies and appliances following surgeries like colostomies. This assistance helps offset the ongoing costs associated with managing an ostomy, promoting independence and well-being.
The program covers a range of essential items, including ostomy pouches, skin barriers, belts, and irrigation supplies. Recognizing individual needs, the ADP aims to provide adequate funding for the specific supplies required by each applicant.
Currently, advocates are pushing for changes to the program, arguing that current coverage levels are insufficient and create financial burdens for individuals relying on these vital medical devices.
The Application Process: A Step-by-Step Guide
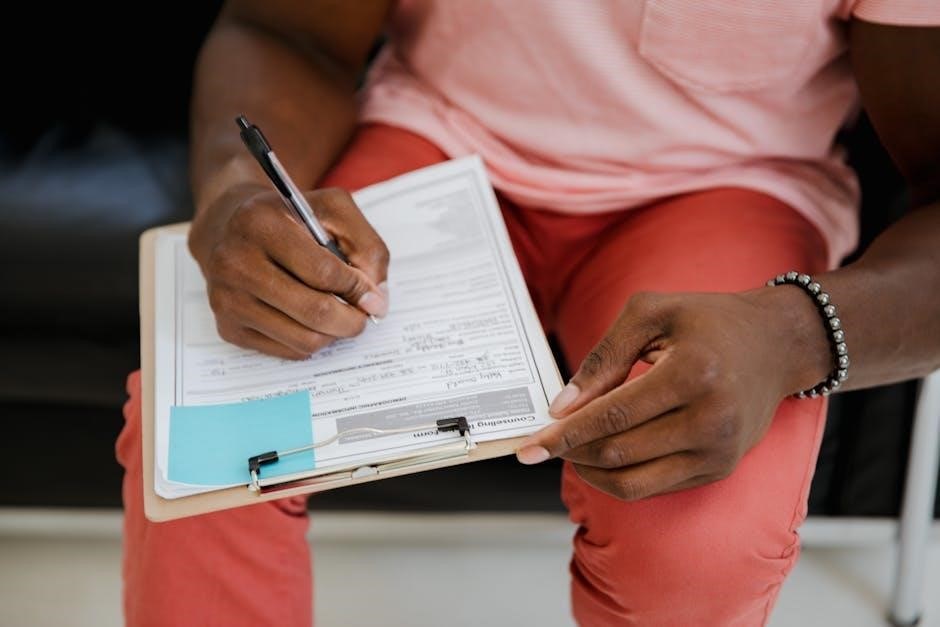
Applying for the ADP involves a multi-step process. First, determine your eligibility based on residency and the nature of your disability. Next, gather all required documentation, including medical reports, vendor quotes, and proof of Ontario residency.
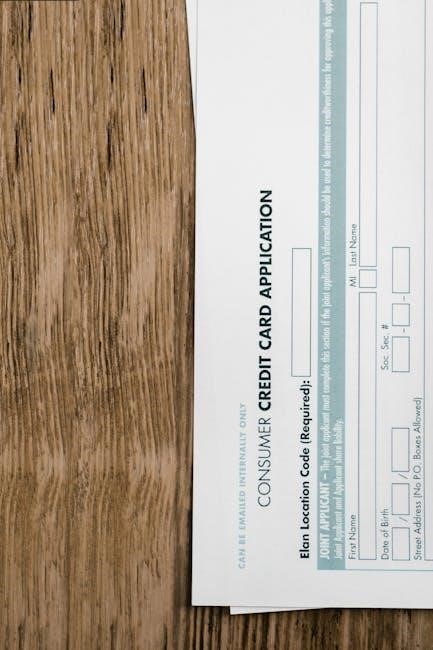
Complete the official ADP application form, available online or through ServiceOntario. Ensure all sections are filled accurately and thoroughly. Submit the completed form and supporting documents to the ADP office.

Be prepared for potential wait times, as backlogs are currently impacting processing speeds (as of December 12, 2025). Following submission, the ADP will review your application and may request additional information.
Required Documentation for the Application
Submitting a complete application to the ADP necessitates several key documents. Crucially, you’ll need comprehensive medical reports and assessments detailing your disability and the necessity of the assistive device. These must be completed by qualified healthcare professionals.
Quotes from authorized vendors are essential, outlining the cost of the device. Proof of residency in Ontario, such as a driver’s license or utility bill, is also required. Additional documentation may be requested depending on the specific device and your individual circumstances.

Ensure all documents are clear, legible, and submitted in the format specified by the ADP to avoid delays in processing your application.
Medical Reports & Assessments
Comprehensive medical documentation forms the cornerstone of your ADP application. These reports must clearly articulate the nature of your long-term physical disability and its impact on your daily life. A qualified healthcare professional – a physician, for example – must complete these assessments.
The reports should specifically detail why the requested assistive device is medically necessary to improve your independence and quality of life. Generic statements are insufficient; detailed explanations are crucial. Ensure the reports align with the device quoted by the vendor.
Thorough assessments significantly increase your application’s likelihood of approval, demonstrating a clear medical need for the requested assistance.
Quotes from Authorized Vendors
Securing quotes from ADP-authorized vendors is a critical step in the application process. The ADP requires detailed price breakdowns for the specific assistive device you are requesting. These quotes must be official, itemized, and clearly indicate the vendor’s authorization status.
Quotes should include the device’s model number, a comprehensive description, and the total cost, including any applicable taxes or delivery fees. Ensure the quoted device aligns precisely with the medical necessity outlined in your supporting documentation.
Submitting quotes from multiple vendors can be beneficial, allowing the ADP to assess fair market value. Verify vendor authorization on the ADP website before submitting any quotes.
Proof of Residency in Ontario
Establishing Ontario residency is a fundamental requirement for ADP eligibility. Applicants must provide official documentation verifying their primary residence within the province. Acceptable proof includes a valid Ontario driver’s license, an Ontario health card, or recent property tax bills.
If you are a new resident, documentation such as a lease agreement, utility bills, or a letter from your employer confirming your Ontario address may be accepted. The ADP reserves the right to request additional documentation to confirm residency.
Ensure the submitted documentation is current and clearly displays your name and Ontario address. Failure to provide adequate proof of residency will result in application delays or denial.
Understanding ADP Funding Levels & Limits
ADP funding isn’t a full coverage; it provides partial financial assistance towards eligible assistive devices. Funding levels vary significantly depending on the device category – mobility equipment, hearing aids, vision aids, or others. Each category has specific maximum funding amounts established annually.

The program operates with funding limits, meaning applicants are responsible for covering the remaining cost of the device beyond the ADP contribution. Authorized vendors can assist in understanding these limits and potential out-of-pocket expenses.
It’s crucial to review the current funding guidelines on the ADP website to determine the maximum amount available for your specific device. These levels are subject to change, so staying informed is essential.
Authorized Vendors & Device Selection
The ADP requires applicants to obtain devices from authorized vendors. These vendors have met specific standards and are approved to participate in the program, ensuring quality and appropriate device fitting. A comprehensive list of authorized vendors is available on the ADP website, categorized by device type and location.
Device selection should be made in consultation with healthcare professionals and the vendor. They can assess individual needs and recommend the most suitable device. Obtaining quotes from multiple vendors is advisable to compare pricing and options.
Remember, the ADP application necessitates a quote from an authorized vendor as supporting documentation. Choosing a non-authorized vendor will likely result in application denial.
Common Reasons for Application Denial
ADP applications can be denied for several reasons, often stemming from incomplete submissions or failure to meet eligibility criteria. A frequent issue is submitting quotes from non-authorized vendors; the ADP strictly requires devices sourced from approved providers.
Insufficient medical documentation is another common cause. Applications must include comprehensive reports detailing the disability and the necessity of the requested device. Lack of clear justification from healthcare professionals can lead to denial.
Furthermore, applications may be rejected if the requested device isn’t covered under the ADP’s guidelines, or if funding limits are exceeded. Recent cuts have also contributed to increased denials and backlogs.
Appealing an ADP Application Denial
If your ADP application is denied, you have the right to appeal the decision. The first step involves requesting a formal review from the Assistive Devices Program itself, outlining the reasons you believe the denial was incorrect.
This appeal must be submitted in writing within a specified timeframe, typically 90 days from the denial date, and should include any additional supporting documentation – updated medical reports, clarifying letters from your physician, or revised quotes.
If the internal review is unsuccessful, you may have the option to escalate the appeal to an independent tribunal. Navigating this process can be complex, and seeking assistance from advocacy groups is often recommended.
Current Wait Times & Backlogs (as of 12/12/2025)
As of today, December 12, 2025, the Ontario Assistive Devices Program is experiencing significant backlogs and extended wait times. Advocacy groups report that cuts to the program have resulted in “inexcusable” delays for both assessment and repair services, impacting beneficiaries’ quality of life.
Current estimates suggest wait times for initial application processing can range from several months to over a year, depending on the device category. Assessments, crucial for determining eligibility, are also facing substantial delays. Repair approvals are similarly affected, leaving individuals without essential equipment for prolonged periods;
These delays are causing considerable hardship, highlighting the urgent need for increased funding and streamlined processes within the ADP.
Recent Changes & Updates to the ADP
Recent years have seen ongoing debate surrounding the Ontario Assistive Devices Program, with advocates pushing for changes to coverage for specific medical devices. Concerns have been raised regarding the program’s responsiveness to the evolving needs of breast cancer survivors and individuals requiring ostomy surgeries, like colostomies.
Specifically, discussions center on adjusting funding models to better reflect the actual costs of these devices and related supplies. There’s a growing call for increased financial support to ensure accessibility and improve the quality of life for those relying on these essential aids.
While no major structural overhauls have been announced recently, these ongoing dialogues signal a potential shift in the program’s future direction.
Navigating the ADP for Specific Disabilities
Individuals with varying disabilities encounter unique challenges when applying for ADP funding. For those experiencing hearing loss, like Erica Hall’s son, the program can provide crucial financial assistance for hearing aids and assistive listening devices, improving communication and quality of life.

Vision impairment necessitates navigating the program for vision aids and low-vision devices, as demonstrated by Marie Claire Bilyk’s use of smartphone apps. Those with mobility challenges, such as requiring prosthetic limbs, may face eligibility hurdles, as highlighted by Mohr’s recent experience.
Understanding specific requirements and documentation needed for each disability is vital for a successful application.
ADP for Hearing Loss
The Ontario Assistive Devices Program (ADP) offers significant support for individuals experiencing hearing loss, covering a portion of the costs associated with hearing aids and assistive listening devices. Erica Hall’s story exemplifies the profound impact these devices can have, particularly for children identified with hearing impairment from birth.
Applicants typically require a comprehensive audiological assessment from a registered audiologist, detailing the degree and type of hearing loss. Documentation must clearly demonstrate the medical necessity of the requested device(s). Funding levels are determined based on the type and features of the hearing aid.
The ADP aims to improve communication access and overall quality of life for Ontarians with hearing loss.

ADP for Vision Impairment
The Ontario Assistive Devices Program (ADP) provides financial assistance to individuals with vision impairment, enabling access to crucial vision aids and low vision devices. Marie Claire Bilyk’s experience highlights how technology, like smartphone apps connecting users with sighted volunteers via video chat (Be My Eyes), can significantly enhance independence.
ADP coverage extends to various devices, including magnifiers, telescopes, and specialized computer software. Applicants require a detailed assessment from a qualified vision care professional, outlining the nature and severity of their vision loss and the specific devices recommended.
The program strives to empower individuals with vision impairment to participate fully in daily life and maintain their independence.
ADP for Mobility Challenges
The Ontario Assistive Devices Program (ADP) offers vital support for individuals facing mobility challenges, providing financial assistance for essential equipment like wheelchairs, walkers, and customized seating systems. However, recent reports indicate potential issues with program eligibility, as exemplified by Mohr’s case, where he was deemed ineligible for prosthetic limb funding.
ADP funding aims to enhance independence and quality of life, enabling individuals to navigate their environments more effectively. The application process necessitates a comprehensive assessment from a qualified healthcare professional, detailing the nature of the mobility limitation and the specific device required.
Advocates are actively working to address backlogs and ensure equitable access to these crucial assistive devices.
Resources & Support for ADP Applicants
Navigating the Ontario Assistive Devices Program (ADP) can be complex, and numerous resources are available to support applicants throughout the process. Advocacy groups for breast cancer survivors and those with ostomies are actively pushing for program improvements, highlighting the need for accessible information and streamlined procedures.
Individuals with vision loss, like Marie Claire Bilyk, demonstrate innovative solutions utilizing technology, such as the “Be My Eyes” app, to overcome challenges. Furthermore, organizations dedicated to specific disabilities often provide guidance on application requirements and potential funding alternatives.
Laura Mae Lindo emphasizes the importance of seamless integration into everyday life, and these resources aim to facilitate that goal for ADP applicants.

Contact Information for the ADP
Direct access to program information and support is crucial for ADP applicants. While specific contact details weren’t explicitly provided in the source texts, it’s understood that the program operates under the umbrella of Ontario’s healthcare system. Individuals experiencing delays or facing difficulties with their applications, as highlighted by concerns regarding backlogs as of December 12, 2025, should seek assistance.
Advocacy groups actively voicing concerns about the ADP, particularly regarding cuts and their impact on accessibility, may also offer contact points for further guidance. It’s recommended to consult the official Ontario government website for the most up-to-date contact information, including phone numbers and email addresses.
Remember to document all communication attempts and retain copies of submitted materials.

Alternative Funding Options for Assistive Devices
Navigating the ADP can be challenging, and application denials, as reported with prosthetic limbs, necessitate exploring alternative funding avenues. Various charitable organizations and non-profit groups offer financial assistance for assistive devices, supplementing or replacing potential ADP coverage. Provincial and federal government programs, beyond the ADP, may also provide support for individuals with disabilities.
Furthermore, some private insurance plans may partially cover the cost of assistive devices. Investigating workplace safety insurance benefits, if applicable, is also advisable. Community fundraising initiatives and crowdfunding platforms can be effective in raising funds for essential equipment.
Thorough research into these options is vital, ensuring accessibility to needed devices despite potential ADP limitations.
Impact of ADP Cuts on Accessibility
Recent reports highlight concerns regarding cuts to the Assistive Devices Program (ADP) and their detrimental impact on accessibility for Ontarians with disabilities. Advocacy groups express that reductions have led to an “inexcusable backlog” and extended wait times for crucial assessment and repair services, hindering independent living.
These delays disproportionately affect individuals requiring timely access to devices like prosthetics, hearing aids, and mobility equipment. The inability to obtain or maintain assistive devices creates significant barriers to participation in education, employment, and community life.
Ultimately, diminished ADP funding threatens the fundamental right to accessibility, exacerbating existing inequalities and limiting opportunities for individuals with disabilities across Ontario.
Success Stories: Beneficiaries of the ADP
The ADP empowers countless Ontarians to live fuller, more independent lives. Erica Hall’s son, diagnosed with hearing loss at birth, benefited from ADP funding for hearing aids, enabling him to develop speech and participate fully in school. Marie Claire Bilyk, with vision loss, utilizes assistive technology – supported by the ADP – to maintain independence, like using an app to connect with sighted volunteers.
These stories demonstrate the transformative power of accessible assistive devices. The program allows individuals to overcome physical challenges, pursue education and employment, and actively engage within their communities.
The ADP isn’t just about providing equipment; it’s about fostering inclusion and unlocking potential, offering a pathway to a higher quality of life for beneficiaries.