lularoe size guide
LuLaRoe offers trendy‚ comfortable apparel‚ known for its vibrant prints and inclusive sizing from XXS to 3XL. This guide helps navigate their size options‚ ensuring the perfect fit for every body type and style preference.
Understanding the Importance of Proper Sizing
Proper sizing is essential for comfort‚ confidence‚ and style. LuLaRoe offers a wide range of sizes (XXS to 3XL)‚ catering to diverse body types and preferences. However‚ inconsistent fit experiences across styles and fabrics highlight the need for careful measurement and size chart consultation. Many customers and retailers emphasize the importance of accurate sizing to avoid ill-fitting garments‚ which can affect both comfort and aesthetic appeal. Understanding your measurements ensures a flattering fit‚ whether you’re opting for leggings‚ dresses‚ or tops. LuLaRoe’s inclusive sizing aims to empower everyone to feel their best‚ but proper sizing is key to achieving that goal effectively.
Overview of LuLaRoe’s Size Range
LuLaRoe offers a diverse size range from XXS to 3XL‚ ensuring inclusivity for all body types. Their collection includes leggings‚ dresses‚ skirts‚ and tops‚ with sizes designed to accommodate varying figures. The brand is known for its wide selection‚ making it accessible to a broad audience. While their main sizes are consistent‚ some styles‚ like leggings‚ may offer one-size options or specific fits. This range reflects LuLaRoe’s commitment to providing stylish‚ comfortable clothing for everyone‚ regardless of size or personal style preferences. The extensive size options help customers find garments that flatter their shapes and meet their fashion needs effectively.

How to Choose the Right Size
Measure yourself accurately‚ compare with LuLaRoe’s size chart‚ and consider your fit preference. This ensures a comfortable and flattering fit tailored to your body type.
Measuring Yourself Accurately
To ensure the best fit‚ start by measuring yourself with a flexible tape measure. Wrap it around the fullest part of your bust‚ keeping the tape level and parallel to the floor. For your natural waist‚ measure the narrowest point‚ usually just above your belly button. Hip measurements should be taken around the widest part of your hips‚ about 7-9 inches below your waistline. Avoid slouching or pulling the tape too tight‚ as this can lead to inaccurate results. Consistency is key—measure in the same way each time for reliable sizing. Double-checking your measurements helps avoid errors and ensures a flattering fit.
Comparing LuLaRoe Sizes to Standard Sizes
LuLaRoe sizes can vary slightly from standard sizing‚ so it’s important to refer to their specific size chart. Many customers find that LuLaRoe runs smaller in certain styles‚ while others fit true to size. For example‚ leggings often have a one-size option‚ which fits a wide range of body types. Dresses and tops may have a more forgiving fit due to the brand’s focus on comfort and flexibility. To avoid confusion‚ always compare your measurements to LuLaRoe’s chart rather than relying on standard US sizes. This ensures the best fit‚ especially since the brand offers an inclusive range from XXS to 3XL.
Fabric and Fit
LuLaRoe’s fabric selection impacts fit‚ with materials ranging from soft‚ stretchy knits to structured textiles. Understanding fabric types helps determine comfort and drape‚ ensuring optimal fit for every style.
How Fabric Type Affects Fit
Fabric type significantly influences how LuLaRoe clothing fits. Soft‚ stretchy knits provide a snug‚ comfortable fit‚ while structured fabrics offer more shape and support. Thicker materials‚ like those in seasonal collections‚ may feel less flexible but offer warmth and durability. Lightweight fabrics‚ such as those used in leggings‚ cling closer to the body‚ emphasizing curves. Conversely‚ loose-weave fabrics create a relaxed‚ flowy silhouette. Understanding the fabric’s stretch‚ drape‚ and weight helps determine how it will fit your body. LuLaRoe’s diverse fabric options cater to various preferences‚ ensuring comfort and style for every occasion. Choosing the right fabric ensures optimal fit and comfort.
Common Fit Challenges and Solutions
Some customers find LuLaRoe sizing inconsistent across styles and fabric types‚ leading to fit issues. For example‚ leggings may feel too tight or loose depending on the material. To address this‚ refer to LuLaRoe’s size chart and read reviews for specific styles. If leggings feel snug‚ consider sizing up or opting for relaxed-fit options. For dresses and skirts‚ ensure proper fit by measuring accurately and comparing to the chart. Fabric stretch and drape vary‚ so choosing styles that suit your body type and activity level is key. Mixing sizes or styles can also help achieve the desired fit and comfort.

LuLaRoe Leggings Size Guide
LuLaRoe leggings are popular for their comfort and style‚ offering one-size and regular sizing options. They come in various prints and fabrics‚ ensuring a customizable fit for all.
One-Size vs. Regular Sizing
LuLaRoe leggings are available in two sizing options: one-size and regular sizing. The one-size fits a wide range of sizes (2-10) and is known for its stretchy‚ adaptable fabric. Regular sizing offers a more tailored fit for those who prefer a specific size. While one-size is praised for its inclusivity‚ some find it too tight or less flattering on certain body types. Regular sizing provides a more precise fit but may lack the versatility of the one-size option. Both styles feature LuLaRoe’s signature soft‚ buttery fabric‚ ensuring comfort regardless of the choice. Understanding your body type and fit preference is key to selecting the right option.
Tips for Styling Leggings
LuLaRoe leggings are incredibly versatile and can be styled to suit any occasion. For a casual look‚ pair them with a cozy tunic or oversized sweater. Add a pair of ankle boots or sneakers for a chic‚ everyday outfit. Layering a cardigan or kimono over a fitted top creates a balanced silhouette. Dress them up with a blazer and heels for a more polished appearance. Accessorize with statement jewelry or a scarf to elevate the look. The buttery soft fabric drapes beautifully‚ making it easy to transition from loungewear to streetwear. Experiment with patterns and textures to create a unique‚ personalized style that reflects your personality.
Dresses and Skirts Size Guide
LuLaRoe dresses and skirts offer a wide range of sizes‚ from XXS to 3XL‚ ensuring a flattering fit for every body type. With various styles available‚ the collection caters to different preferences‚ whether flowy and relaxed or structured and tailored. Seasonal designs provide versatility‚ while the soft‚ high-quality fabrics enhance comfort and confidence. This guide helps you find the perfect dress or skirt to match your unique style and measurements seamlessly.
Understanding Fit Styles
LuLaRoe dresses and skirts come in various fit styles‚ catering to diverse body types and personal preferences. Flowy designs offer a relaxed‚ forgiving silhouette‚ while structured styles provide a more tailored look. A-line dresses skim over the hips‚ flattering pear-shaped figures‚ while fitted waists accentuate curves. Maxi dresses offer length and comfort‚ ideal for taller frames or those seeking coverage. Fit styles vary by collection‚ ensuring versatility for different occasions. Understanding your body shape and preferred level of structure helps in selecting the most flattering fit. This guide assists in navigating these options to find dresses and skirts that enhance your confidence and style.
Seasonal Variations in Fit
LuLaRoe adapts its fit styles to suit seasonal trends and comfort needs. Summer collections often feature flowy‚ breathable designs with looser fits for ease in warmer weather. Winter lines may include more structured dresses and skirts with layers for added warmth. Seasonal variations ensure versatility‚ offering styles that align with current fashion trends while maintaining comfort. Whether it’s a lightweight maxi dress for summer or a tailored midi skirt for cooler months‚ LuLaRoe’s designs cater to diverse seasonal preferences. This approach ensures customers can enjoy flattering‚ comfortable clothing year-round‚ making the brand a go-to for versatile‚ fashion-forward wardrobes.

Inclusive Sizing
LuLaRoe offers sizes from XXS to 3XL‚ ensuring a wide range of options for all body types. This inclusive approach guarantees a perfect fit for everyone.
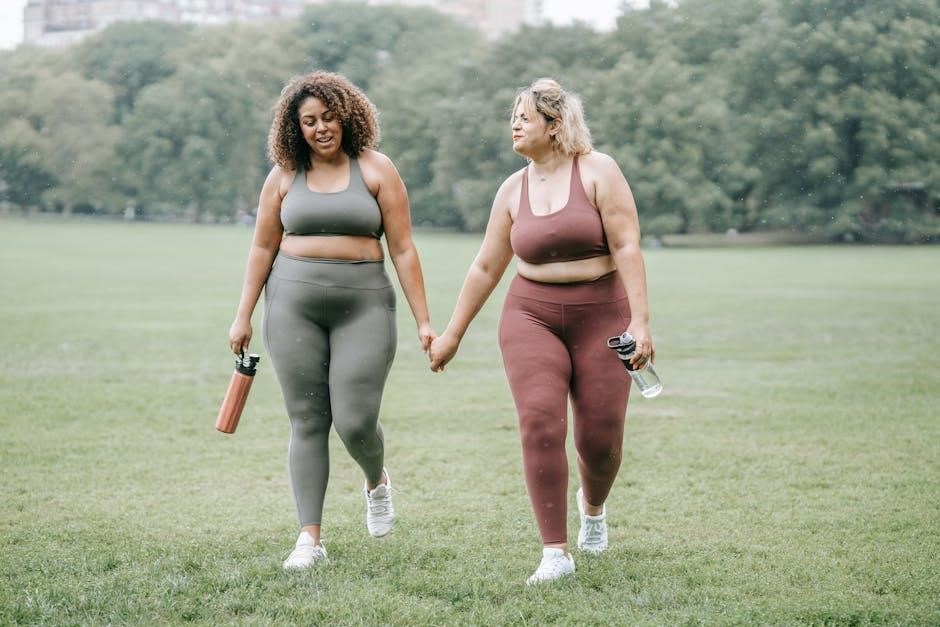
Plus Size Options
LuLaRoe offers an extensive range of plus-size options‚ catering to diverse body types with sizes up to 3XL. Their inclusive sizing ensures every individual can enjoy trendy‚ comfortable apparel. The brand emphasizes fashion for all‚ providing stylish dresses‚ leggings‚ and tops in larger sizes. This approach promotes body positivity and accessibility‚ making high-quality clothing available to everyone. LuLaRoe’s plus-size collection is designed to flatter and fit beautifully‚ offering versatility for both casual and formal occasions. By prioritizing inclusivity‚ LuLaRoe has become a go-to choice for those seeking fashionable and comfortable options in larger sizes‚ reflecting their commitment to diversity and style.
Accommodating Different Body Types
LuLaRoe excels in accommodating various body types through its diverse fit styles and flattering designs. Their A-line dresses and skirts are particularly popular for balancing proportions‚ while leggings offer a snug‚ comfortable fit for all shapes. The brand’s inclusive sizing and soft‚ stretchy fabrics ensure comfort and confidence‚ regardless of body type. Whether you’re pear-shaped‚ rectangular‚ or hourglass‚ LuLaRoe’s designs cater to your unique silhouette. Their clothing is crafted to enhance curves‚ provide coverage‚ and create a seamless fit. This thoughtful approach makes LuLaRoe a favorite for individuals seeking stylish‚ body-flattering apparel that suits their personal style and physique.
LuLaRoe’s size guide ensures confidence and comfort‚ offering inclusive options for all body types. With proper sizing and fabric choices‚ finding your perfect fit is effortless and empowering.
Final Tips for Finding Your Perfect Fit
Use LuLaRoe’s size chart and measure yourself accurately to ensure the best fit. Consider fabric types‚ as they impact how clothing drapes. Experiment with styles to find what flatters your body. For leggings‚ layering can enhance comfort and versatility. Don’t hesitate to seek advice from retailers or online communities for personalized guidance. Remember‚ fashion is personal—choose what makes you feel confident and comfortable. LuLaRoe’s inclusive sizing and versatile designs make it easier to discover your perfect fit and enjoy stylish‚ comfortable clothing for any occasion.