Budaball Ham Cooking Instructions: A Comprehensive Guide
Preparing a delicious Budaball ham requires careful attention, especially for holiday gatherings; research is key before you begin the cooking process.
Understanding Budaball Ham
Budaball hams hold a special place in Southern culinary traditions, frequently gracing tables during festive occasions like Christmas, Easter, and cherished family reunions. However, successfully preparing a Budaball ham demands a bit of prior investigation and understanding. Many home cooks might find the sheer size of the ham somewhat daunting, particularly if they haven’t tackled one before.
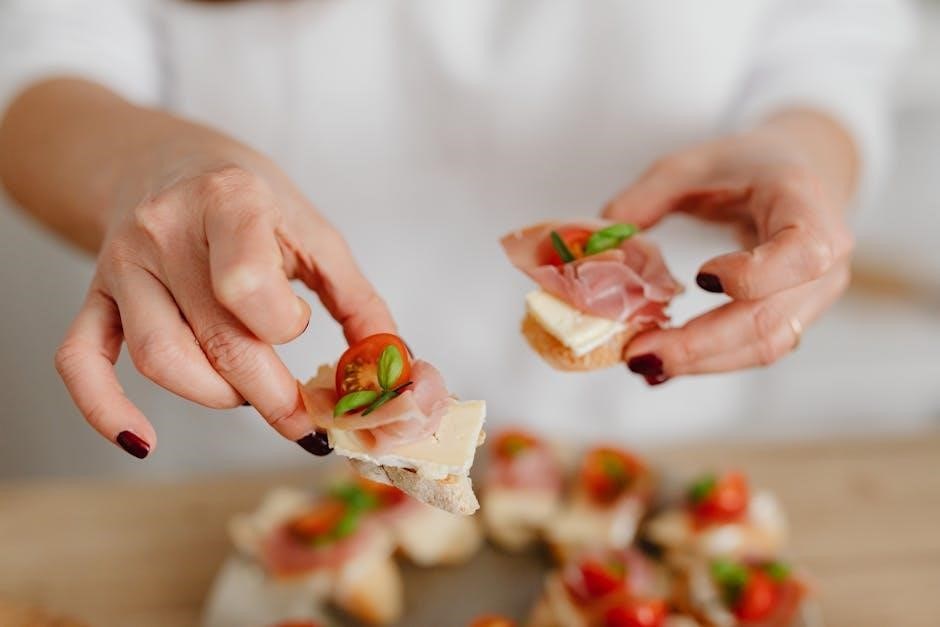
Don’t let the size intimidate you! This guide aims to demystify the process, walking you through each step to ensure a beautifully cooked, tender, and flavorful ham. A carefully cooked ham is truly a sight to behold – a perfect balance of salty, slightly sweet, and incredibly tender meat. Understanding the basics will empower you to create a memorable centerpiece for your next gathering, and impress your guests with your culinary skills.
What is a Budaball Ham?
While the specific origins of the “Budaball” name aren’t widely documented, these hams are generally fully cooked, bone-in hams, often pre-glazed or ready to be glazed by the consumer. They are known for their substantial size, making them ideal for feeding larger groups, a common requirement during holiday celebrations and family gatherings in the Southern United States.
These hams typically undergo a curing process, contributing to their distinctive salty and savory flavor profile. The pre-cooked nature of Budaball hams means the cooking process primarily focuses on reheating and enhancing the flavor, rather than achieving doneness; This makes them a relatively straightforward option for cooks of all skill levels, offering a delicious and impressive centerpiece with minimal effort.
Types of Budaball Hams Available
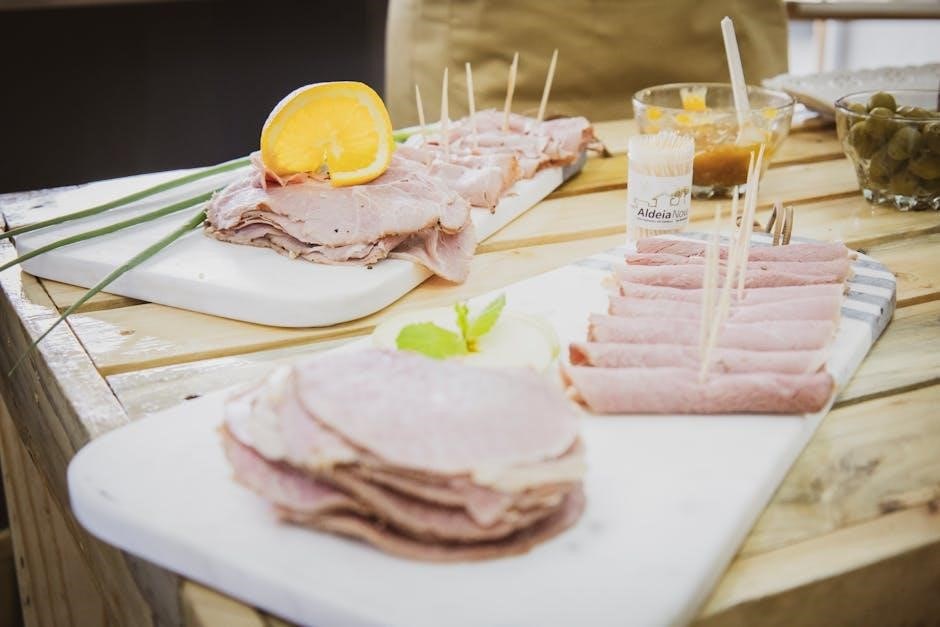
Budaball hams aren’t defined by a single production method, leading to a variety of options available to consumers. You’ll commonly find them offered as bone-in or shank-portion hams, with bone-in generally providing richer flavor during cooking. Glazed varieties are prevalent, featuring pre-applied coatings of brown sugar, honey, or maple, simplifying the final preparation step.
Smoked Budaball hams are also popular, imparting a distinct smoky aroma and taste. Some are spiral-sliced before packaging, which speeds up reheating and makes carving easier. Variations in curing processes also exist, influencing the ham’s saltiness and overall flavor intensity. Ultimately, the “best” type depends on personal preference and desired level of convenience.
Preparing the Budaball Ham for Cooking
Proper preparation is crucial for a succulent Budaball ham, beginning with assessing its state – frozen or fresh. If frozen, thawing is the first step, requiring ample time in the refrigerator. Once thawed, or if starting with a fresh ham, a quick rinse under cold water removes any surface residue. Patting the ham dry with paper towels is essential for achieving a beautiful, caramelized glaze.
While optional, scoring the ham’s surface in a diamond pattern allows the glaze to penetrate deeper, enhancing flavor and presentation. Remember to remove any plastic or netting before proceeding. A little preparation ensures a beautifully cooked and flavorful ham, ready to be the centerpiece of your meal.
Thawing a Frozen Budaball Ham
Safely thawing a frozen Budaball ham is paramount, demanding patience and proper refrigeration techniques. The recommended method involves thawing in the refrigerator, allowing approximately 4-6 hours per pound. This slow process maintains food safety and preserves the ham’s quality. Ensure the ham is placed on a tray or in a container to catch any drips, preventing cross-contamination in your refrigerator.
Avoid thawing at room temperature, as this encourages bacterial growth. For a large ham, this could take several days, so plan accordingly. Once fully thawed, the ham is ready for rinsing and further preparation. Prioritize safety and allow sufficient time for complete thawing – it’s a crucial step for a delicious outcome.
Rinsing and Patting Dry
After thawing, rinsing your Budaball ham under cool water is a vital step for cleanliness and optimal flavor. This removes any ice crystals or residual packaging materials that may have accumulated during the freezing or thawing process. Gently rinse the entire surface of the ham, ensuring all areas are thoroughly cleaned.
Following the rinse, meticulously pat the ham dry with clean paper towels. Removing excess moisture is crucial for achieving a beautiful, caramelized glaze during cooking. A dry surface allows the glaze to adhere properly, resulting in a more flavorful and visually appealing finished product. Don’t skip this step – it significantly impacts the final result!

Scoring the Ham (Optional)
Scoring the surface of your Budaball ham is an optional, yet beneficial, technique to enhance glaze penetration and create a visually appealing diamond pattern. Using a sharp knife, carefully score the fat layer in a crosshatch pattern, making shallow cuts about ½ inch deep and spaced 1 inch apart. Avoid cutting into the meat itself; the goal is to create channels for the glaze.
This scoring process not only allows the glaze to seep deeper into the ham, intensifying its flavor, but also renders some of the fat during cooking, contributing to a more tender and succulent result. While not essential, scoring elevates both the taste and presentation of your Budaball ham, making it a true centerpiece.
Cooking Methods for Budaball Ham
Several methods exist for cooking a Budaball ham, including oven baking, slow cooking, and grilling, each offering unique benefits and flavors.
Oven Baking: The Traditional Approach
Oven baking remains the most popular and traditional method for cooking a Budaball ham, yielding consistently delicious results. Achieving a perfectly cooked ham requires understanding a few key elements. First, determining the correct cooking temperature is crucial; generally, a lower temperature (around 325°F or 160°C) is preferred for even cooking and preventing the ham from drying out.
Calculating cooking time based on weight is also essential. A general guideline is approximately 15-20 minutes per pound for a fully cooked ham, but always refer to the package instructions. Using a roasting pan and rack elevates the ham, allowing for even heat circulation and preventing it from sitting in its own juices. This ensures a beautifully browned exterior and a moist, tender interior. Remember to add about half a cup of water to the bottom of the pan to maintain moisture during baking.
Determining Cooking Temperature
Establishing the ideal cooking temperature is paramount for a succulent Budaball ham. While variations exist, a consistent 325°F (160°C) generally delivers optimal results. This moderate heat ensures the ham cooks evenly throughout, preventing a dry exterior or undercooked interior. Some recipes suggest starting at a slightly higher temperature for initial browning, then reducing it to maintain moisture.
However, consistently lower temperatures are favored for larger hams, extending the cooking time and promoting tenderness. Always consult the specific package instructions accompanying your Budaball ham, as recommendations can differ based on size and preparation. Monitoring the internal temperature, rather than solely relying on time, is the most reliable indicator of doneness, regardless of the chosen temperature.
Calculating Cooking Time Based on Weight
Accurately determining cooking time hinges on your Budaball ham’s weight. A general guideline suggests approximately 15-18 minutes per pound for a bone-in ham, and 12-15 minutes per pound for a boneless variety, when baking at 325°F (160°C). These are estimates, and variations occur based on ham shape and oven calibration.
Larger hams naturally require extended cooking durations. It’s crucial to use a meat thermometer to verify internal temperature, rather than strictly adhering to calculated times. Remember that a fully cooked ham needs to reach an internal temperature of 140°F (60°C). Always err on the side of caution, adding extra time if needed, to ensure a safe and flavorful result. Consistent monitoring is key to a perfectly cooked Budaball ham.
Using a Roasting Pan and Rack
Employing a roasting pan with a rack is paramount for optimal ham cooking. The rack elevates the ham, allowing for even heat circulation around the entire surface, preventing a soggy bottom and promoting consistent cooking. Ensure the pan is large enough to comfortably accommodate the ham without touching the sides, facilitating proper airflow.
Adding about a cup of water or broth to the bottom of the pan creates steam, helping to maintain moisture during the baking process. This prevents the ham from drying out, especially during extended cooking times. Lining the pan with foil simplifies cleanup considerably. A sturdy rack is essential; flimsy ones may buckle under the weight of a large Budaball ham, hindering even cooking;
Glazing the Budaball Ham
Glazing transforms a simple ham into a show-stopping centerpiece, adding both flavor and visual appeal. The glaze creates a beautiful, caramelized crust that complements the savory ham perfectly. Applying glaze during the final stages of cooking is crucial; too early, and it will burn. Typically, glazing begins during the last 30-45 minutes of baking.
Brush the glaze generously over the ham, ensuring complete coverage. Repeat this process 2-3 times, allowing each layer to set slightly before applying the next. This builds up a rich, flavorful coating. Popular glaze choices include brown sugar, honey, and maple syrup-based recipes, often combined with mustard or spices for added complexity. A carefully-cooked ham deserves a beautiful glaze!
Popular Glaze Recipes (Brown Sugar, Honey, Maple)
Brown Sugar Glaze: A classic choice, combining 1 cup packed brown sugar, ½ cup honey, ¼ cup Dijon mustard, and a pinch of ground cloves. This delivers a sweet and slightly tangy flavor profile.
Honey Glaze: For a simpler approach, mix ¾ cup honey with ¼ cup orange juice and 1 tablespoon of apple cider vinegar. This glaze offers a delicate sweetness and bright citrus notes.
Maple Glaze: Elevate your ham with ¾ cup maple syrup, ¼ cup brown sugar, and 1 tablespoon of balsamic vinegar. The maple provides a rich, distinctive sweetness, balanced by the balsamic’s acidity. These glazes are all fantastic, creating a tender, salty, and slightly sweet experience.
Applying the Glaze During Cooking
Initial Glaze: Begin applying the glaze during the last 30-45 minutes of cooking. This allows it to caramelize beautifully without burning, creating a lovely sheen and enhanced flavor. Brush a generous layer over the entire ham surface.
Re-application: For a richer glaze, repeat the application every 15-20 minutes during the final cooking period. This builds up layers of flavor and ensures a consistently glossy finish.
Basting: As you brush, baste the ham with the pan juices for added moisture and depth of flavor. Consistent glazing is key to a perfectly finished Budaball ham, resulting in a tender, salty, and slightly sweet masterpiece.
Slow Cooker Budaball Ham
Adapting Recipes: Many traditional ham recipes can be successfully adapted for slow cooking. Reduce liquid amounts, as slow cookers retain moisture effectively. A cup of juice, broth, or even soda can provide sufficient liquid for a flavorful result.
Slow Cooking Benefits: Slow cooking excels at rendering the ham incredibly tender and moist. It’s a convenient, hands-off method, perfect for busy schedules or when oven space is limited. The low and slow process allows flavors to meld beautifully.
Cooking Time: Typically, a Budaball ham requires 6-8 hours on low or 3-4 hours on high in a slow cooker. Always check for doneness with a meat thermometer before serving, ensuring a safe and delicious meal.
Adapting Recipes for Slow Cooking
Liquid Reduction: When transitioning a traditional ham recipe to a slow cooker, significantly reduce the amount of liquid called for. Slow cookers trap moisture, preventing excessive evaporation. Start with approximately one cup of liquid – juice, broth, or even a complementary soda – and adjust if needed.
Glaze Timing: Apply glazes during the last hour of cooking to prevent burning. The slow cooker’s consistent heat can caramelize glazes quickly. Basting the ham several times during this final hour ensures even coverage and a beautiful finish.
Spice Adjustments: Consider slightly reducing the amount of strong spices, as their flavors intensify during prolonged slow cooking. Taste-testing towards the end allows for final adjustments, ensuring a balanced and flavorful ham.
Benefits of Slow Cooking
Enhanced Tenderness: Slow cooking excels at transforming tougher cuts into incredibly tender and succulent meals. The low and slow process breaks down connective tissues, resulting in a remarkably moist and flavorful Budaball ham. It’s perfect for achieving fall-off-the-bone texture.
Convenience & Time Savings: A slow cooker offers unparalleled convenience. Simply prepare the ham, add ingredients, and let it cook unattended for hours. This frees up valuable oven space, especially crucial during busy holiday meal preparations.
Flavor Infusion: The extended cooking time allows flavors to meld and deepen beautifully. Spices, glazes, and liquids thoroughly penetrate the ham, creating a richer, more complex taste profile than faster cooking methods.
Grilling Budaball Ham
Preparing for Grilling: Grilling a Budaball ham imparts a delightful smoky flavor, perfect for warmer months or a unique holiday twist. Begin by ensuring your grill is clean and well-maintained. Whether gas or charcoal, consistent heat control is paramount for even cooking.
Temperature Control is Key: Aim for indirect heat, typically around 250-300°F (121-149°C). Direct heat will likely burn the glaze before the ham is heated through. A two-zone fire setup is ideal, allowing you to move the ham as needed.
Grilling Times & Techniques: Expect approximately 10-12 minutes per pound. Basting frequently with your chosen glaze during the last 30-45 minutes enhances flavor and creates a beautiful caramelized exterior. Monitor internal temperature closely!
Preparing the Grill for Ham
Establishing Indirect Heat: To successfully grill a Budaball ham, creating a two-zone fire is crucial. On a gas grill, light burners on one side, leaving the other side off. For charcoal, bank the coals to one side of the grill, leaving a cooler zone. This allows for indirect cooking, preventing burning.
Temperature Management: Aim for a consistent grill temperature between 250-300°F (121-149°C). Use a reliable grill thermometer to monitor the heat. Adjust burners or add/remove charcoal as needed to maintain this range throughout the cooking process.
Grill Grate Preparation: Ensure the grill grate is clean and lightly oiled to prevent sticking. A clean grate promotes even heating and easier glaze application. Preheating the grill for 10-15 minutes ensures optimal temperature stability.
Grilling Times and Temperatures
Estimated Grilling Time: A fully cooked Budaball ham requires approximately 10-12 minutes per pound when grilled indirectly at 250-300°F (121-149°C). This timeframe allows for gentle heating and prevents drying. Consistent temperature monitoring is vital for accurate cooking.
Temperature Checks: Begin checking the internal temperature after about two-thirds of the estimated grilling time. Use a meat thermometer inserted into the thickest part of the ham, avoiding the bone. Aim for an internal temperature of 140°F (60°C).
Glaze Application Timing: Apply your chosen glaze during the last 30-45 minutes of grilling. Multiple glaze coats can be applied, allowing each layer to caramelize beautifully. Frequent basting enhances flavor and appearance.
Post-Cooking & Serving
A perfectly cooked ham is a beautiful sight, offering tender, salty, and slightly sweet flavors; proper post-cooking steps are essential for enjoyment.
Checking for Doneness
Ensuring your Budaball ham reaches a safe and delicious internal temperature is paramount. Relying on visual cues alone can be misleading, so employing a meat thermometer is highly recommended for accuracy. Insert the thermometer into the thickest part of the ham, avoiding contact with bone, as this can provide a false reading.
Internal temperature guidelines are crucial for a perfectly cooked ham. Fully cooked hams, which are the most common type, simply need to be heated through to an internal temperature of 140°F (60°C). However, if you are cooking a fresh, uncooked ham, it must reach an internal temperature of 160°F (71°C) to ensure it’s safe to consume.
Regularly monitor the temperature during the final stages of cooking to prevent overcooking, which can result in a dry and less flavorful ham. Remember to check in multiple spots to confirm consistent doneness throughout the meat.
Using a Meat Thermometer
A meat thermometer is your most reliable tool for determining if your Budaball ham has reached a safe and palatable internal temperature. Digital thermometers offer quick and accurate readings, while traditional dial thermometers are also effective, though they may require a bit more time to register.
Proper placement is key for an accurate reading. Insert the thermometer into the thickest part of the ham, ensuring the tip doesn’t touch bone, fat, or the roasting pan. These elements can skew the temperature, providing an inaccurate result. Aim for the center of the ham for the most representative reading.
Check the temperature periodically, especially during the last hour of cooking. This allows you to monitor progress and prevent overcooking. Remember to clean the thermometer probe with hot, soapy water before and after each use for hygiene.
Internal Temperature Guidelines
For fully cooked Budaball hams, which are the most common type, the USDA recommends reheating to an internal temperature of 140°F (60°C). This ensures the ham is heated through without drying it out. It’s crucial to verify this temperature with a meat thermometer for food safety and optimal enjoyment.
If you are cooking a fresh (uncured) ham, a higher internal temperature of 160°F (71°C) is required to eliminate any potential bacteria. Always prioritize safety when handling and cooking fresh meats.
Remember that the temperature will continue to rise slightly during the resting period (carryover cooking), so remove the ham from the oven when it reaches approximately 135-138°F to avoid overcooking. Consistent monitoring is vital for a perfectly cooked, tender, and flavorful Budaball ham.
Resting the Ham
Allowing your Budaball ham to rest after cooking is a crucial, often overlooked, step for achieving maximum tenderness and juiciness. This period allows the juices, redistributed during cooking, to settle back into the meat fibers, resulting in a more flavorful and succulent final product.

Cover the ham loosely with aluminum foil and let it rest for at least 15-20 minutes before carving. The resting time depends on the size of the ham; larger hams benefit from a longer rest.
Don’t skip this step! Cutting into the ham immediately after removing it from the oven will cause all those delicious juices to run out, leaving you with a drier, less appealing result. Patience is key to a truly exceptional Budaball ham experience.
Carving the Budaball Ham
Proper carving techniques are essential to showcase your perfectly cooked Budaball ham and ensure each slice is tender and flavorful. Begin by placing the ham on a sturdy carving board with the flat side down for stability.
Using a long, sharp carving knife, start by slicing downwards, following the bone’s natural curve. Aim for slices approximately ¼ to ½ inch thick. For bone-in hams, slice along the bone, then run the knife along the bone to release the slices.
For boneless hams, simply slice across the grain of the meat. Present the slices attractively on a platter, and enjoy the fruits of your labor!
Best Carving Techniques
Achieving beautiful, even slices from your Budaball ham requires a few key techniques. A long, flexible carving knife is paramount; its length allows for smooth, consistent cuts across the ham’s surface.
Start by identifying the grain of the meat – slicing against the grain shortens the muscle fibers, resulting in more tender bites. Begin carving at a slight angle, following the natural curve of the bone (if present). Maintain consistent pressure and a smooth sawing motion.
For easier slicing, warm the knife slightly in hot water between cuts. This reduces friction and ensures clean separations. Remember to prioritize safety and take your time; a well-carved ham elevates the entire dining experience!
Serving Suggestions & Side Dishes
A perfectly cooked Budaball ham deserves equally delightful accompaniments. Classic pairings include scalloped potatoes, creamy mashed potatoes, or a vibrant potato salad – offering comforting textures and flavors.
For a touch of sweetness and acidity, consider cranberry sauce, pineapple rings, or glazed carrots. Green bean casserole, roasted Brussels sprouts, or a fresh green salad provide a welcome contrast to the ham’s richness.
Don’t forget the rolls or biscuits! They’re perfect for soaking up the delicious pan juices. A selection of mustards – Dijon, honey mustard, or whole-grain – adds another layer of flavor. Ultimately, the best sides complement the ham’s savory profile and create a memorable meal.
Storing Leftover Budaball Ham
Properly storing leftover Budaball ham is crucial for food safety and maintaining its delicious flavor. Within two hours of cooking, remove the ham from the bone and store it in an airtight container.
Refrigerated ham will stay fresh for 3-4 days. For longer storage, freezing is an excellent option. Wrap the ham tightly in plastic wrap, then in foil, or place it in a freezer-safe bag. Frozen ham can last for 1-2 months.
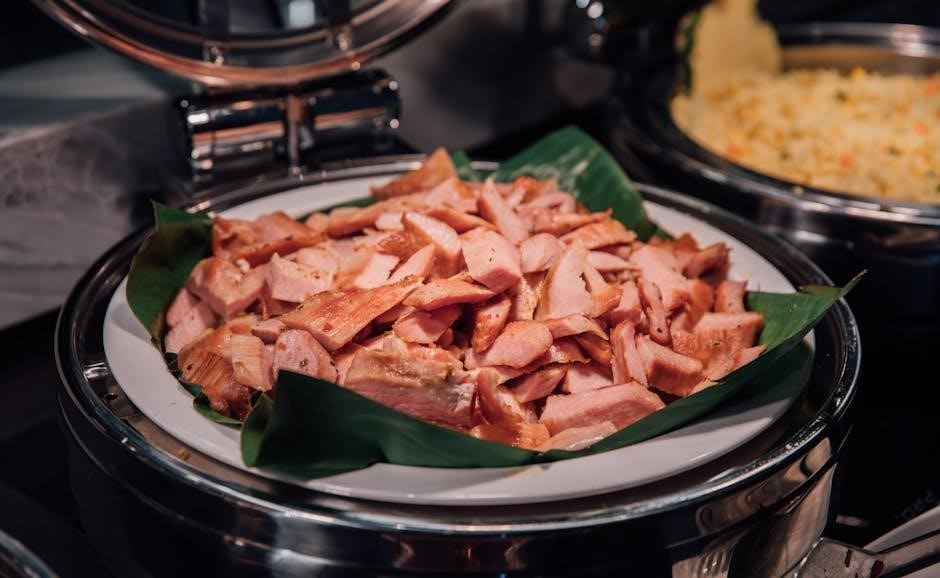
When reheating, use a microwave, oven, or skillet, ensuring the internal temperature reaches 140°F (60°C). Leftover ham is incredibly versatile – use it in sandwiches, soups, omelets, or create a flavorful ham salad!