world history study guide
Welcome to the World History Study Guide, your comprehensive resource for exploring the interconnected past of human societies. This guide covers key periods, events, and concepts, from ancient civilizations to modern globalization, providing essential insights and study tools for success. Discover political, social, and cultural developments, along with practice tests and PDF resources to enhance your learning journey.
Overview of World History
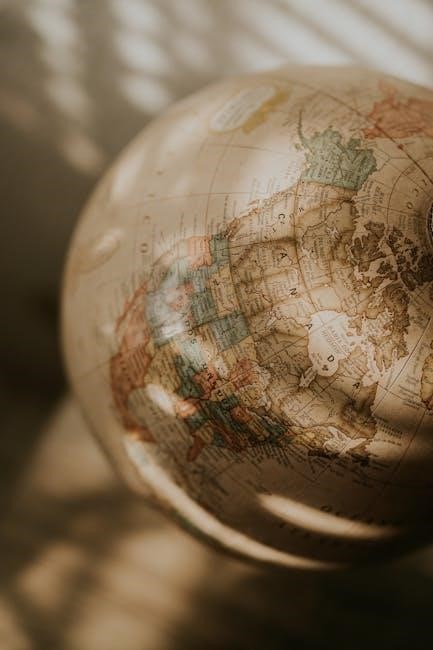
World History explores the interconnected development of human societies across time and space. It examines major empires, cultural exchanges, and technological advancements, from ancient civilizations to modern globalization. This field highlights how diverse societies have influenced one another, shaping political, social, and economic systems. Understanding global patterns and connections fosters a deeper appreciation of our shared human experience and its complexities.
Importance of Studying World History
Studying World History fosters global awareness and critical thinking by understanding past civilizations, cultural exchanges, and historical events. It helps students analyze the roots of modern issues and appreciate diverse perspectives. This knowledge enhances problem-solving skills, empathy, and the ability to navigate an increasingly interconnected world. Exploring humanity’s shared past prepares individuals to address future challenges effectively.
The Global Tapestry (c. 1200 ‒ c. 1450)
This period highlights the interconnectedness of societies through trade, cultural exchange, and the emergence of powerful empires. Key developments include advancements in East Asia and the expansion of global networks that shaped the medieval world.
Developments in East Asia
During this period, East Asia experienced significant cultural and political advancements. The Song Dynasty in China maintained rule through long-held traditions, fostering manufacturing and commercialization. Societies shifted from local production to market-oriented economies, while the Mongol invasions introduced new dynamics, impacting regional stability and cultural exchange, leaving a lasting legacy on East Asian development and identity.
Systems of Government in Chinese Dynasties
Chinese dynasties employed centralized bureaucratic systems, with the emperor holding divine authority under the Mandate of Heaven. Officials were selected through competitive exams, emphasizing merit and Confucian values. Legalism also influenced governance, particularly during the Qin Dynasty, focusing on strict laws and centralized control. These systems ensured stability and continuity, shaping East Asia’s political frameworks for centuries.
Major States and Empires (1500 A.D.)
By 1500 A.D., powerful states like the Ming Dynasty in China and the Ottoman Empire dominated global politics, shaping cultural and economic landscapes through centralized governance and expansion.
Political and Cultural Developments
The Ming Dynasty in China and the Ottoman Empire exemplified centralized governance, fostering cultural advancements. The Ming emphasized Confucian values and artistic innovation, while the Ottomans excelled in administration and architectural achievements. These empires facilitated trade and intellectual exchange, shaping global cultural landscapes and laying foundations for future political structures.
Old World vs. New World: Key Differences
The Old World (Europe and Asia) and New World (Americas and Caribbean) differed significantly in geography, flora, fauna, and human societies. The Old World had established empires and complex trade networks, while the New World featured diverse indigenous cultures. Key differences included the presence of horses, pigs, and diseases like the bubonic plague in the Old World, absent in the New. The Columbian Exchange later bridged these gaps.
Religious and Belief Systems
Explore the evolution and impact of major religious and belief systems, including their spread and influence on global societies and cultures.
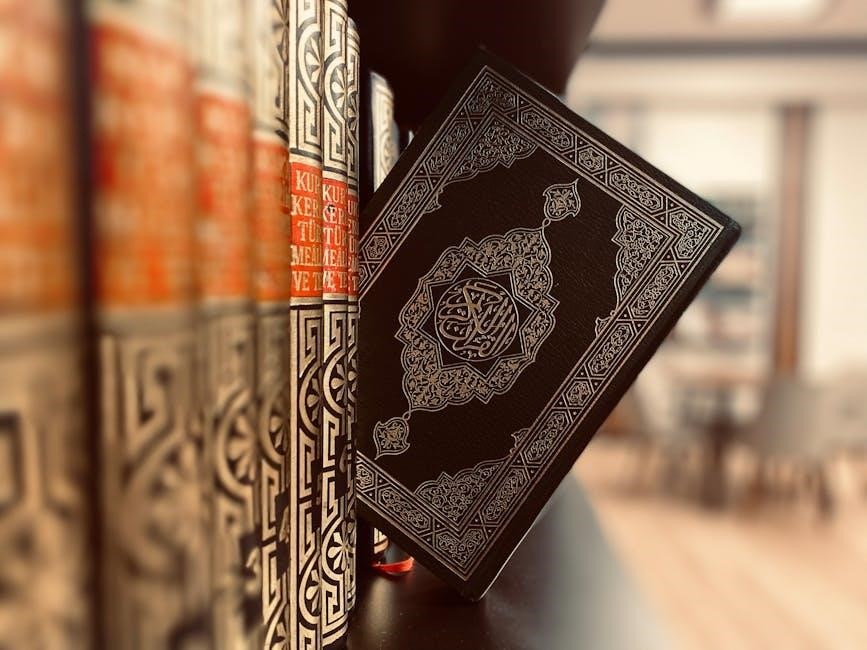
Judaism, Christianity, and Islam
These Abrahamic religions trace their roots to the Middle East, shaping global cultures and societies. Judaism emphasizes covenant and tradition, while Christianity focuses on salvation through Jesus Christ. Islam, emerging later, stresses submission to Allah and moral guidance. Each religion has spread widely, influencing art, law, and daily life, creating a lasting legacy in human history and belief systems worldwide.
Buddhism and the Four Noble Truths
Buddhism emerged in ancient India with Siddhartha Gautama, known as the Buddha. He taught the Four Noble Truths: suffering exists, arises from desire, can be overcome, and the path to cessation is the Eightfold Path. This philosophy emphasizes ethical conduct, mental discipline, and wisdom, influencing millions globally and shaping diverse cultural practices and spiritual traditions.
Technological and Economic Advancements
China emerged as a global leader in manufacturing, shifting from local to market production. Technological innovations and commercialization transformed societies, while the Bubonic Plague disrupted economies worldwide.
China’s Manufacturing and Commercialization
China became the world’s most advanced manufacturing hub, transitioning from local production to widespread market-oriented systems. This shift spurred economic growth, establishing China as a global commercial leader during this period.
Impact of the Bubonic Plague
The Bubonic Plague caused massive population decline, economic disruption, and social upheaval across Europe and Asia. It reshaped labor dynamics, led to increased societal inequality, and influenced cultural and religious practices. The plague also highlighted differences between Old World and New World societies, as the New World remained unaffected during this period.
Globalization and Its Effects
Globalization transformed societies through cultural exchange and expanded trade networks. The Columbian Exchange introduced new crops, goods, and ideas between the Old and New Worlds, reshaping economies and cultures worldwide.
Cultural Exchange and Trade Networks
Trade networks like the Silk Road and Indian Ocean connected distant regions, fostering the exchange of goods, ideas, and cultures. These systems enabled the spread of technologies, religions, and practices, creating a rich tapestry of global interconnectedness and shaping societies through shared knowledge and innovations.
The Columbian Exchange
The Columbian Exchange transformed global ecosystems by transferring plants, animals, and diseases between the Old and New Worlds. This exchange introduced crops like maize and potatoes to Europe, boosting populations, while sugarcane and horses reshaped economies and cultures. It also led to devastating population declines in the Americas due to Old World diseases. This exchange profoundly impacted global history.
The Rise of Totalitarianism
Joseph Stalin implemented totalitarianism in Russia through the Great Purge, drastically impacting societies in Africa and Asia with authoritarian control and repression.
Joseph Stalin and the Great Purge
Joseph Stalin’s Great Purge (1936-1938) was a brutal campaign of political repression, eliminating perceived enemies and consolidating power. This period exemplifies totalitarianism’s darker aspects, crucial for understanding Stalin’s regime and its societal impact.
Impact on Societies in Africa and Asia
The spread of religious systems like Judaism, Christianity, and Islam deeply influenced cultural and political structures in Africa and Asia. Additionally, events such as the Bubonic Plague caused significant social and economic disruptions, reshaping societies and their dynamics.

Study Resources and Guides
Find AP World History practice tests, PDF guides, and free online materials to aid your studies. Utilize comprehensive study guides, flashcards, and digital tools for effective preparation and success.
AP World History Practice Tests and PDF Guides
Access free AP World History practice tests and comprehensive PDF guides to prepare for your exam. These resources include full-length practice tests, unit-specific study materials, and detailed answer explanations. Downloadable PDFs cover all nine units, from early developments in East Asia to modern globalization. Utilize these tools to identify weaknesses, refine strategies, and achieve success on the AP exam.
Free Online Study Materials
Enhance your studies with free online resources, including PDF guides, workbooks, and textbooks. Access comprehensive study notes, practice questions, and detailed explanations. Utilize 64-page PDFs covering all nine units, from early developments to modern globalization. These materials are designed to support middle and high school students, offering flexible and accessible learning opportunities for mastering world history concepts.

Key Historical Events
Explore pivotal moments shaping global history, such as World War I and the Neolithic Revolution. These events transformed societies, economies, and cultures, leaving lasting legacies. studying these milestones provides insights into human progress and conflict, essential for understanding modern complexities.
World War I and Its Aftermath
World War I (1914-1918) was a global conflict sparked by imperialism, nationalism, and militarism. It involved major powers like Britain, France, Germany, and the U.S. The war introduced trench warfare and massive casualties. The Treaty of Versailles ended the war but imposed harsh penalties on Germany, contributing to economic instability and the rise of fascist regimes. Its aftermath shaped modern geopolitics, fostering the Great Depression and setting the stage for World War II.
The Neolithic Revolution
The Neolithic Revolution marked a pivotal shift from nomadic hunting-gathering to agriculture and settled communities. It occurred around 10,000 BCE, fostering the domestication of plants and animals. This era introduced tools like the plow, enabling food surplus and population growth. The revolution laid the groundwork for specialized labor, urbanization, and the emergence of complex societies, fundamentally transforming human history and culture.
Regional Studies
Explore the diverse cultures and historical developments of Europe, Asia, the Americas, and the Caribbean. This section provides insights into their unique contributions to global history, offering detailed study resources for a deeper understanding of regional transformations and their impact on the modern world.
Europe and Asia
Europe and Asia’s rich histories are marked by the rise of empires, cultural exchanges, and technological advancements. From the Roman Empire to the Qin and Han Dynasties, these regions shaped global trade and civilizations. The Neolithic Revolution and the Silk Road highlight their interconnectedness, fostering cultural and economic ties that influenced the modern world. Key events like the Bubonic Plague and imperial expansions further defined their historical trajectories, leaving lasting legacies in politics, religion, and society.
The Americas and Caribbean
The Americas and Caribbean are integral to world history, shaped by indigenous cultures, European colonization, and the Columbian Exchange. The Aztec and Inca civilizations thrived in the Americas, while the Caribbean became a hub for trade and cultural blending. These regions’ histories highlight the impact of colonialism, slavery, and resistance, forming diverse societies that continue to influence global dynamics and cultural identity.
Best Practices for Studying World History
Effective learning strategies include using study guides, practice tests, and digital resources. Organize timelines, analyze primary sources, and connect global themes to deepen understanding and achieve academic success.
Effective Learning Strategies
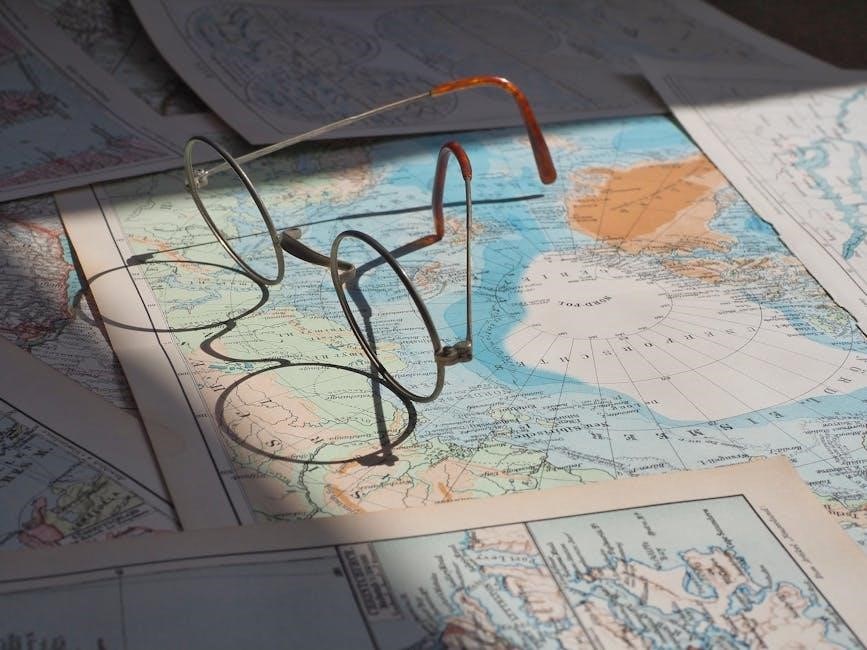
Mastering world history requires active reading, chronological organization, and critical analysis. Use study guides and practice tests to reinforce concepts. Engage with digital resources, timelines, and maps to visualize global connections. Regular review and spaced repetition enhance retention, while focusing on themes like trade, culture, and governance provides a structured approach to understanding complex historical narratives effectively.
Utilizing Digital Resources
Leverage online study guides, PDF materials, and interactive tools to enhance your learning. Platforms like Docsity offer free access to lecture notes and study sheets. Use AP World History practice tests and flashcards to assess your understanding. Digital timelines and maps provide visual insights, while online forums and resources like Simple Studies facilitate collaborative learning and self-assessment, making your study process efficient and engaging.